How to Make Cold Brew Coffee at Home: A Beginner's Guide
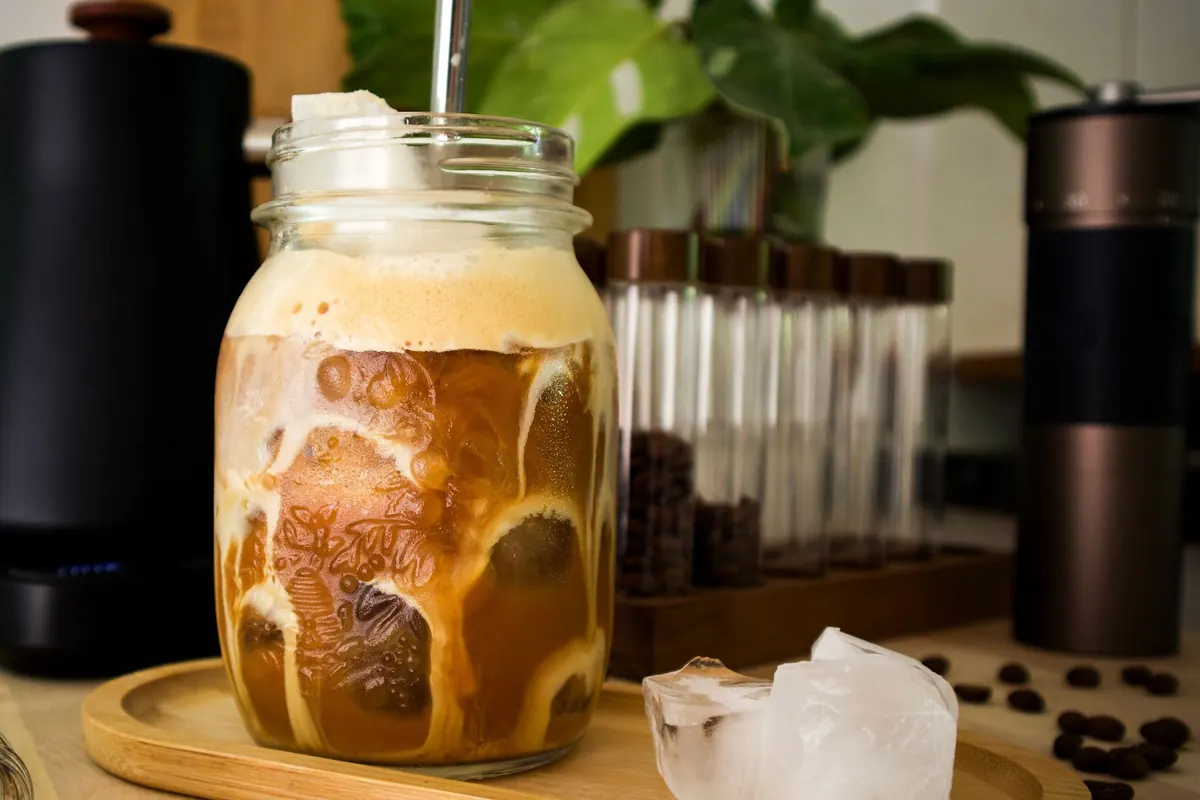
Cold brew has a reputation for being the preserve of cafés with their own taps and kegs. In practice it is coffee, water and time — no kettle required. Get one decent batch right and you have a week of smooth, low-acid coffee concentrate in the fridge, ready to dilute whenever you fancy it. The method below is the one worth learning first: forgiving, repeatable and easy to adjust once you know what you like.
Why cold brew tastes smoother than iced coffee
Iced coffee is usually hot-brewed coffee that has been chilled. Cold brew is never heated at all. That distinction matters, because hot water extracts quickly and pulls out bright acids and bitter compounds along with everything else. Cold water works slowly, drawing out the sweeter, rounder flavours first. The result is a drink that tastes softer and less acidic, often a little chocolatey — even from a bean you find sharp when brewed hot.
There is a practical bonus, too. Because the extraction is gentle, a concentrate holds up in the fridge for days without turning stale the way a pot of filter coffee does by mid-afternoon.
What you need to get started
No specialist kit is necessary. A large jar and a sieve will do.
- Coarse ground coffee — about 100g for a first batch, ideally ground shortly before you start.
- A big jar or jug — one litre or more, with a lid or something to cover it.
- A long spoon for stirring.
- A fine sieve, plus muslin or a paper coffee filter for a second pass.
- Scales, if you have them. They make the ratio easy to repeat.
- Fridge space. This is the step people forget.
A French press works well as a one-vessel option: steep in it, then plunge and pour. Purpose-built cold brew makers are pleasant but not required, and a clean tea towel over the top of a jar does the job of a lid.
Start with the right ratio
Use weight where you can, because grounds vary enormously in volume depending on the grind and the roast. A good starting point is 1 part coffee to 8 parts water — 100g of grounds to 800ml of cold water. That gives a strong concentrate you dilute before drinking.
If you would rather drink it straight from the jar, try 1 part coffee to 15 parts water, so 60g to 900ml. It will be lighter, closer in strength to filter coffee, and it will not keep as long.
No scales? One mug of coarse grounds to three mugs of water lands near that 1:8 concentrate. It is approximate, which is fine for a first attempt — just note down what you did so you can nudge it next time.
Grind and steep: the two variables that matter
Grind coarser than you think
Aim for the texture of sea salt or raw sugar. Too fine and the grounds turn to silt, clog your filter and leave a muddy, bitter cup. Too coarse and you get brown water. Buying from a café? Ask for cold brew or French press grind. With a blade grinder, pulse in short bursts and stop before the coffee looks powdery. You will get a little dust, and that is acceptable.
Steep for twelve to eighteen hours
Sixteen hours is a reliable starting point. Stir once at the beginning, making sure every ground is wet, then cover it and leave it alone. Stirring again later only adds cloudiness.
At twelve hours you get a lighter, brighter concentrate; at eighteen, something deeper and rounder. Leave it much beyond a day and it can turn woody and flat. Start it after dinner, strain it the next morning, and you will rarely go wrong.
Fridge or worktop?
The fridge is the safer choice. Steeping cold is slower and more forgiving, so an extra hour or two will not ruin the batch. On the worktop, extraction is quicker — eight to twelve hours is usually plenty — but the flavour tends to be a touch sharper, and it is easier to overshoot.
Filtering, storing and keeping it fresh
Straining is where most first attempts get messy. Take it slowly:
- Set a fine sieve over a second jug and line it with muslin, or use a paper filter in a cone.
- Pour the steeped coffee through in batches, letting each one drain before adding more.
- Let gravity do the work. Pressing or squeezing the grounds forces fine particles through and adds bitterness.
- Repeat the filter stage if you want a clearer concentrate. Once is usually enough.
- Rinse the cloth thoroughly, or bin the paper, before the next batch.
Decant into a clean bottle or jar with a lid and keep it in the fridge. A concentrate made at 1:8 will usually stay good for five to seven days. If it smells flat or slightly fizzy, throw it out.
Serving it, and sorting out common problems
For a concentrate, dilute roughly one part cold brew to one part water or milk, then taste and adjust. Cold brew is already chilled, so serving it over ice waters it down further — chill the diluted coffee first, or freeze some concentrate into ice cubes.
A few ways to drink it:
- Straight over ice with a strip of orange peel.
- Topped with tonic water for a bitter, sparkling long drink.
- With oat milk and a pinch of cinnamon.
- Warmed gently in a pan — cold brew makes a decent hot cup, too.
If something is off, the fix is usually one of these: weak and thin, use more coffee or steep longer; harsh and bitter, grind coarser or shorten the steep; cloudy, filter again through paper; gritty, your grind was too fine.
Make the first batch tonight
Pick a jar, weigh out 100g of coarsely ground coffee, add 800ml of cold water, stir once and put it in the fridge. Tomorrow, strain it and taste a small glass diluted with water. Then change one thing — the grind, the time or the ratio — and try again next week. Two or three batches is all it takes to find your own house cold brew.
Photo: Pascal 📷 / Pexels